

| (530) 265-4485 |

| Dee's Vision for her Caravelle was to transform it into a Calm Space keeping everything neutral and simple. This is Dee just before picking up the trailer and taking her to the Upholstery Shop. Below we show you the process: |


| Caravel Passenger Side |

| Caravel Driver Side |
| Clear Coat will need to be removed before polishing. |

| Close Up on the Rear Cap Dent |

| Caravel Rear |
| Driver Side Boo Boo |
| We'll do the Outside First. This is how it came into Sierra Trailer. Red Arrows show Body Work that Needs to be done prior to clear coat removal and polishing. |

| Rear Dent Removed - Anything you see here will Polish Out |
| In this section we show Removing the Dents & Prep Work for Polishing |

| Side Panel Removed |

| Side Panel Replacement Process |

| New Side ~ Looking Good! |

| Here we go on the Two Rear Dented Panels |

| Two Rear Dented Panels Removed |

| Replacement Panels for a 1965 Caravel are no longer available for purchase so we are removing the Dents. |

| Working on the Scratches |

| Dents Repaired |

| Old Step |

| New Step |

| More Polish Prep Work |

| Ready for Clear Coat Removal & Polishing |

| Passenger Side Polished |

| Driver Side Polished |


| Side by Side Comparison |

| And ... Here's the Polishing Champs out of San Diego, CA Tony & AJ |
| Up Next - The Interior |


| Entrance |

| Floor |

| Front View |

| Rear View |

| Passenger Side - View # 1 |
| Passenger Side - View # 2 |

| Driver Side |

| Ceiling |


| The Bathroom |
| Before We Get Started we'll answer your Questions on the Integrity of the Trailer: |
Axle OK?
Yes
Yes
Frame OK?
Yes
Yes
Sub Floor OK?
No
No
| Under the Rubber Mat the Sub Floor was in Tact with no Water Damage but felt Weak. We will add another Layer of Sub Floor to make it Sturdy. |


| Additional Sub Floor Shown. So we could keep the Sub Floor Flush into the Bathroom, Walls and Cabinets were taken down for Access. Also shown is the Heater Removed with a Patch in it's place on the Interior and Exterior. |


| Ready for Paint & Flooring! |
| The main body of the Trailer had been painted White but as we scrubbed it down with TSP a Beige was exposed that matched the Upper Part of the Bathroom. We think we are bringing it back to the original paint configuration. |

| Two Coats of Primer |

| Painted & New Marmoleum Flooring |

| Comparison |


| Windows Overhauled ~ Comparison Shown |

| Birch Walls Up |
| TRhe Way It Was! |

| Bathroom Side of Wall is Melamine to Match Cabinets |


| Comparison |
| Dinette that makes into a Bed / Storage under Seats |
| Couch / Bed (Shown in Extended Bed Position) |


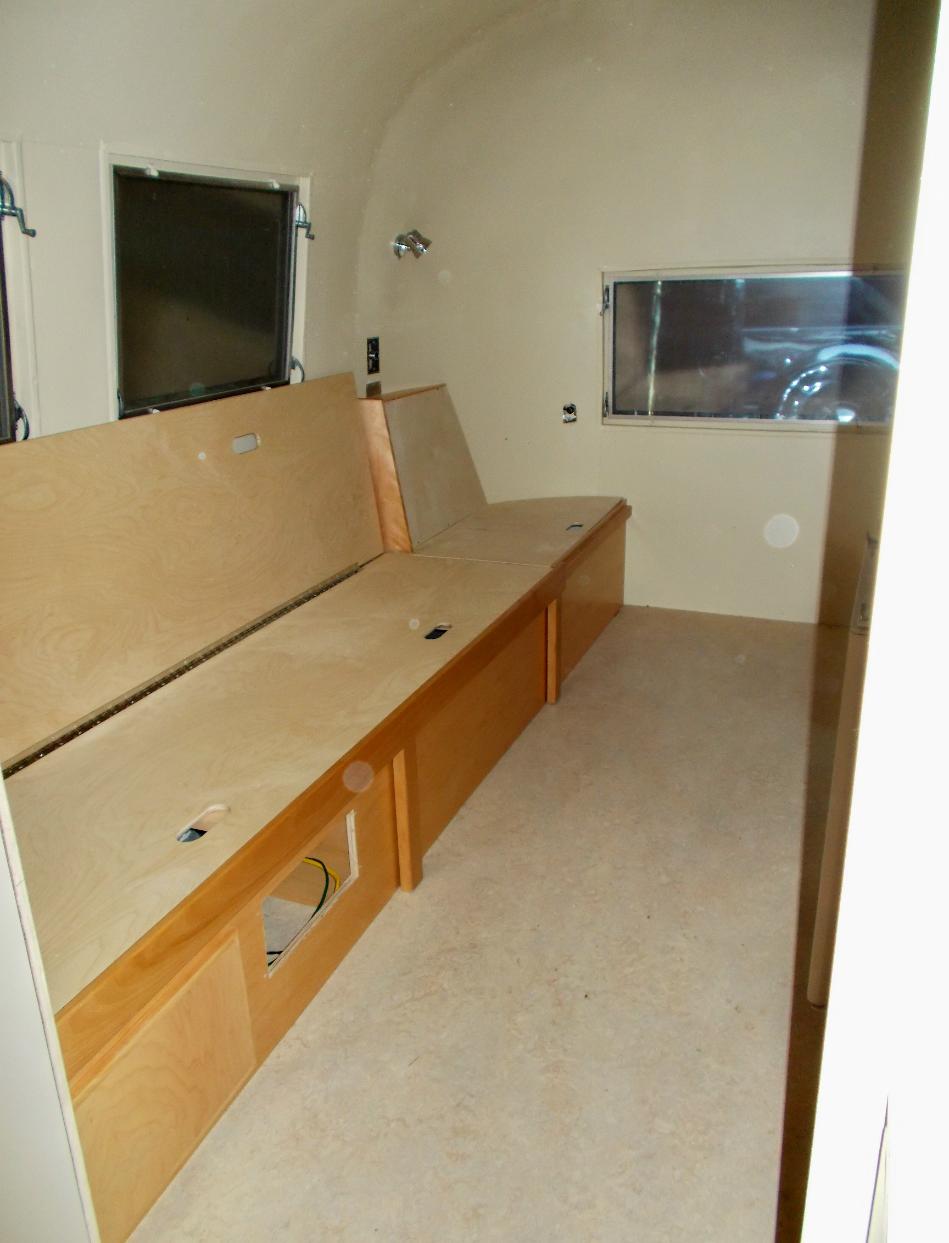
| Couch / Bed ~ Driver Side (Shown in Couch Position) |

| Dining Area Seat Backs Angled for Comfort |

| Front Storage Access Door ~ Passenger Side |

| Passenger Side |
| Bathroom Door Installation Coming Soon |

| Kitchen Light |

| Ceiling Light Removed & Puck Lights Installed (Touch Up Painting Coming Soon) |

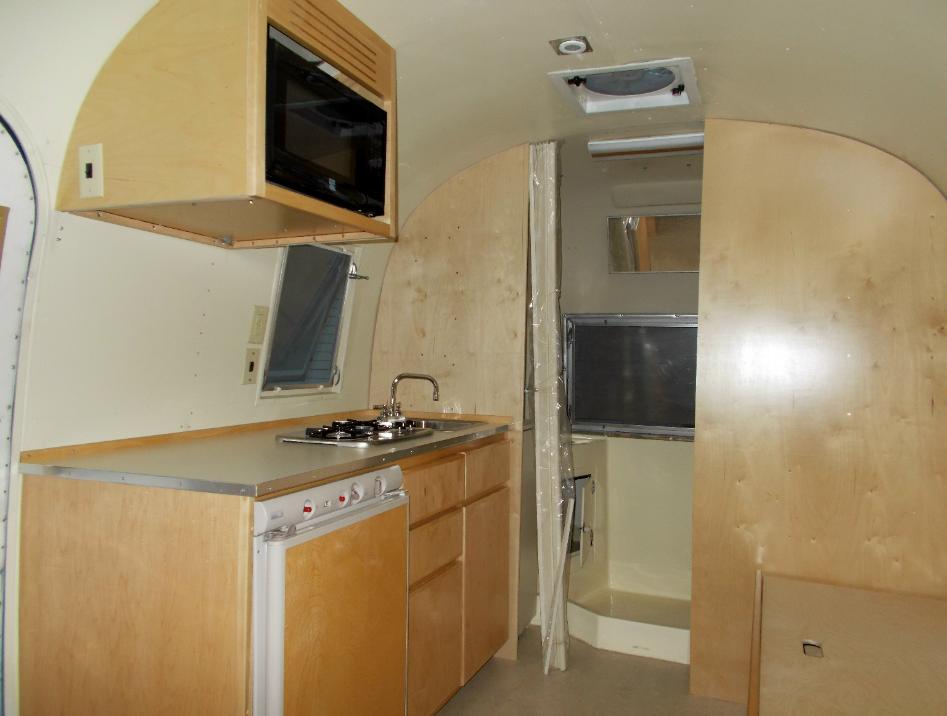
| Kitchen / Fridge |
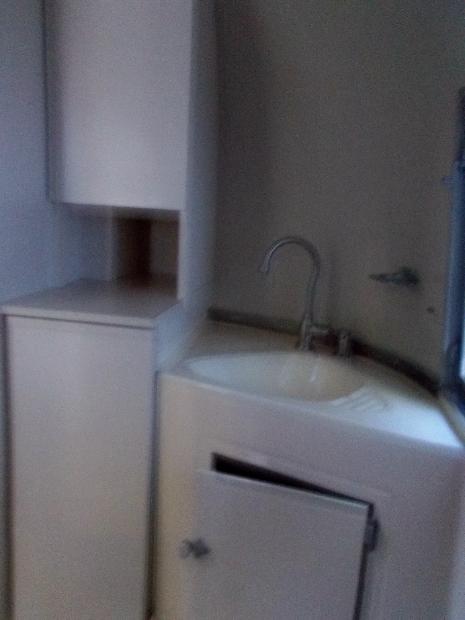

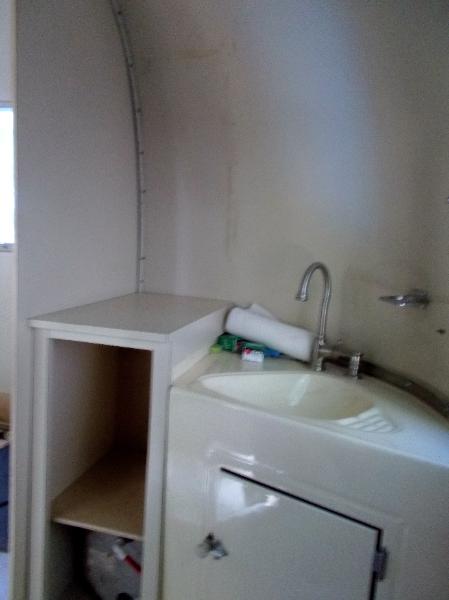
| Bathroom Cabinets (Photo on Left is Under Developed - Sorry) |

| Hitch Work |

| Dee's Bathroom Door Solution Worked Out Great |

| Dining Table / Bed Platform (Once Mounted will be Straight!) |
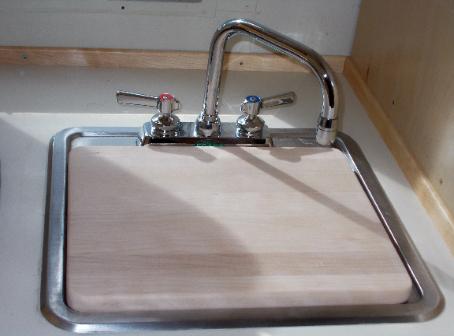
| Cute Litte Cutting Board |

| Access to Stoage |

| TV & Receiver Installed |
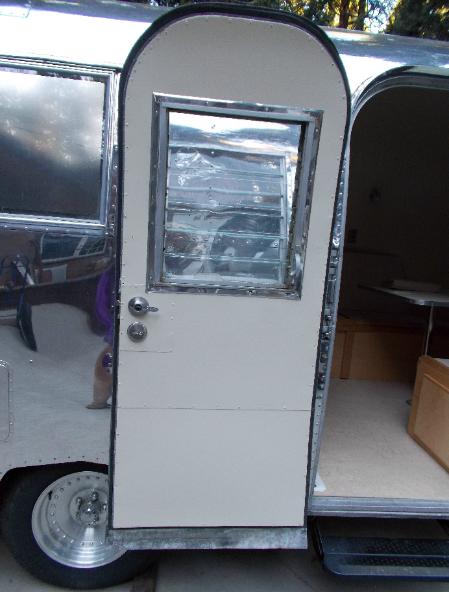
| Big Time Refurbishing on the Entry Door |

| Here comes the Custom Built Gray Water Tank Installation & Re-Configuration of the Belly Pan |

| Aluminum Work on the Gray Water Tank / Belly Pan & Rear Stabilizers Shown |

| Front Stabilizers Shown |

| Towel Rack & Paper Towel Holder |

| Curved Shower Rod |

| Sporting New Airstream Signs |

| Pretty in White |

| Spectacular in Silver |
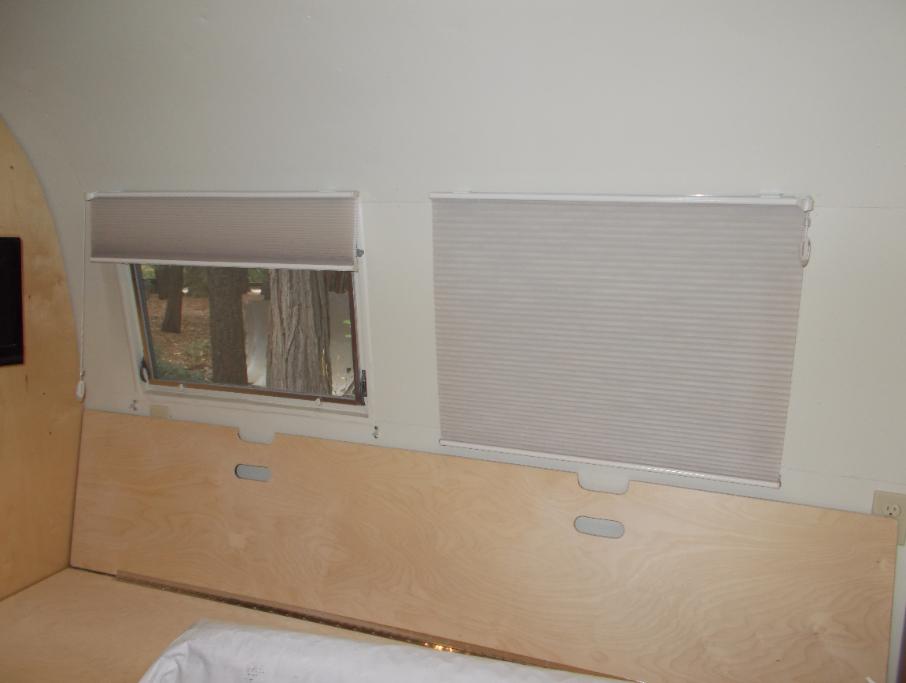
| Here Comes the Window Treatment |

| Nice Clean Look! |

| Alan & Dee Headed to the Upholstery Shop |

| There They Go! |


| Upholstered & Ready to Play Cards |
| She's a Beauty |


| In for a Complete Restoration This One Needs "A Whole Lot of Love!" |
