| (530) 265-4485 |
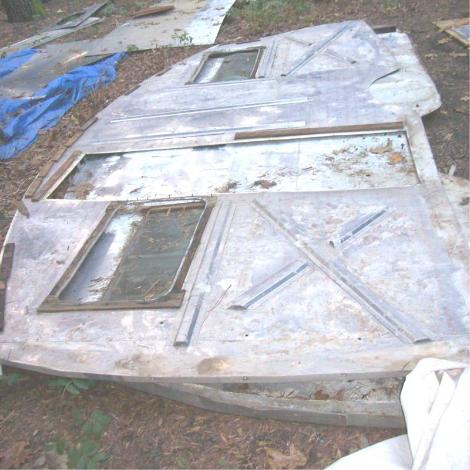
| Exterior Before Restoration Pictures |

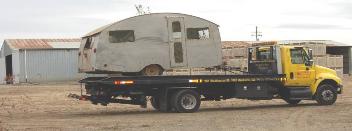
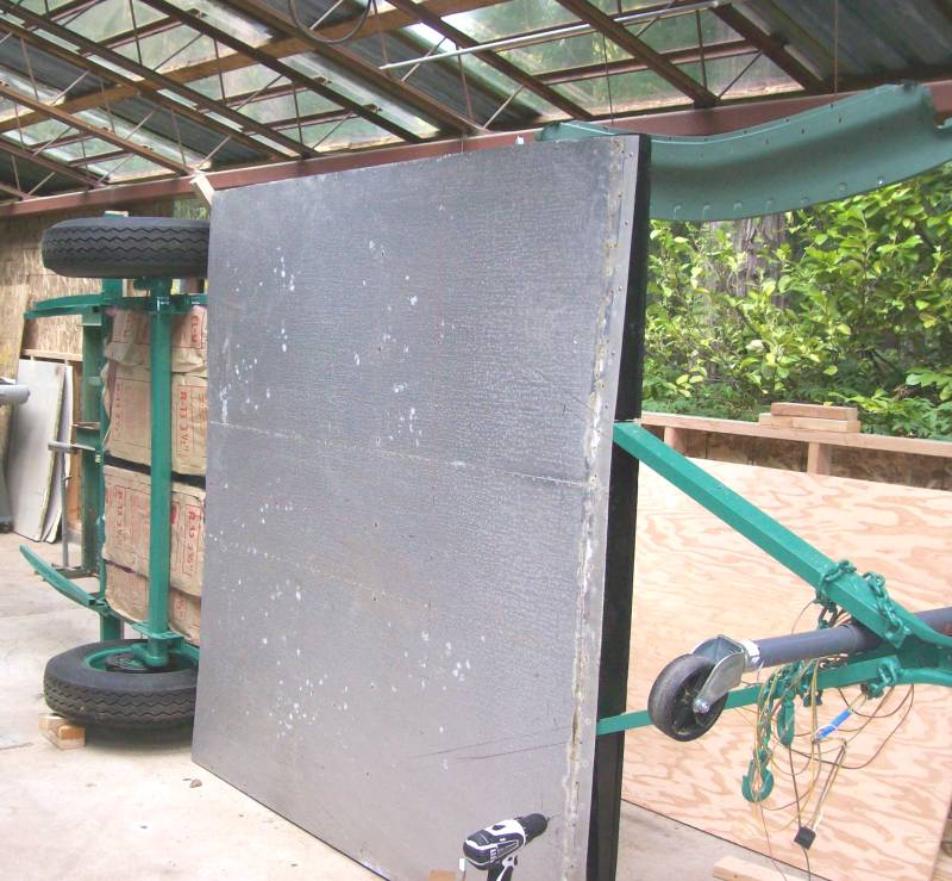
| Where's the Trailer! |
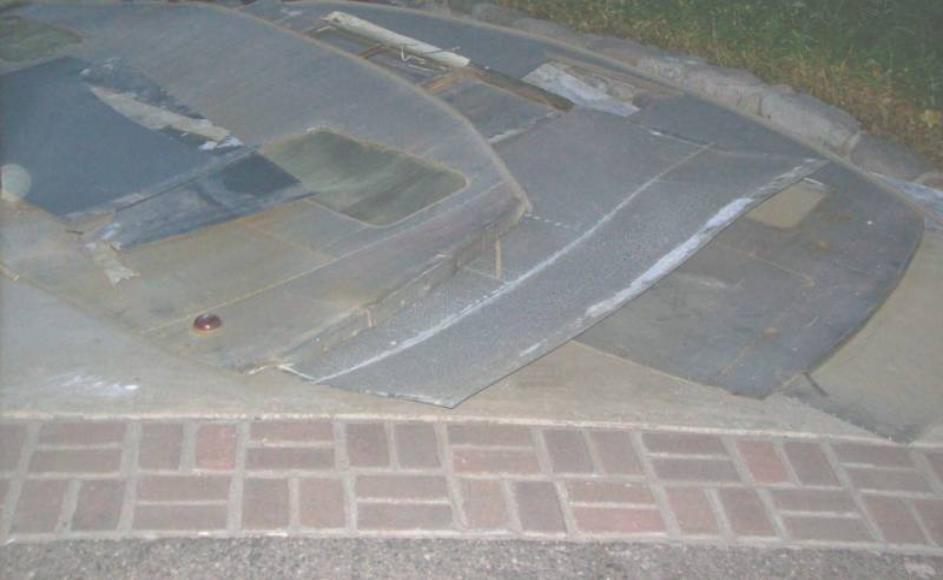
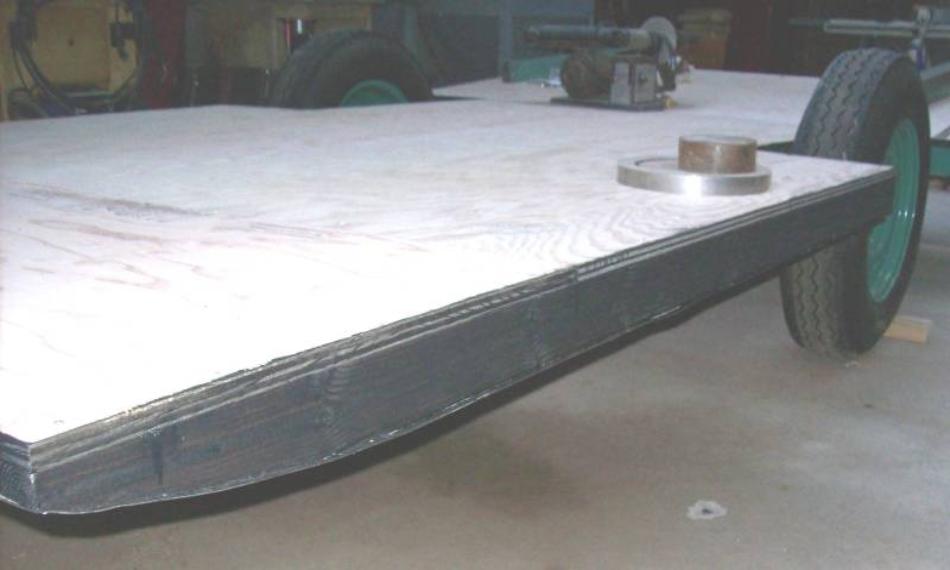
| Frame Looking Good |

| I see a Door |
| I see a Door |
| Parts .... |
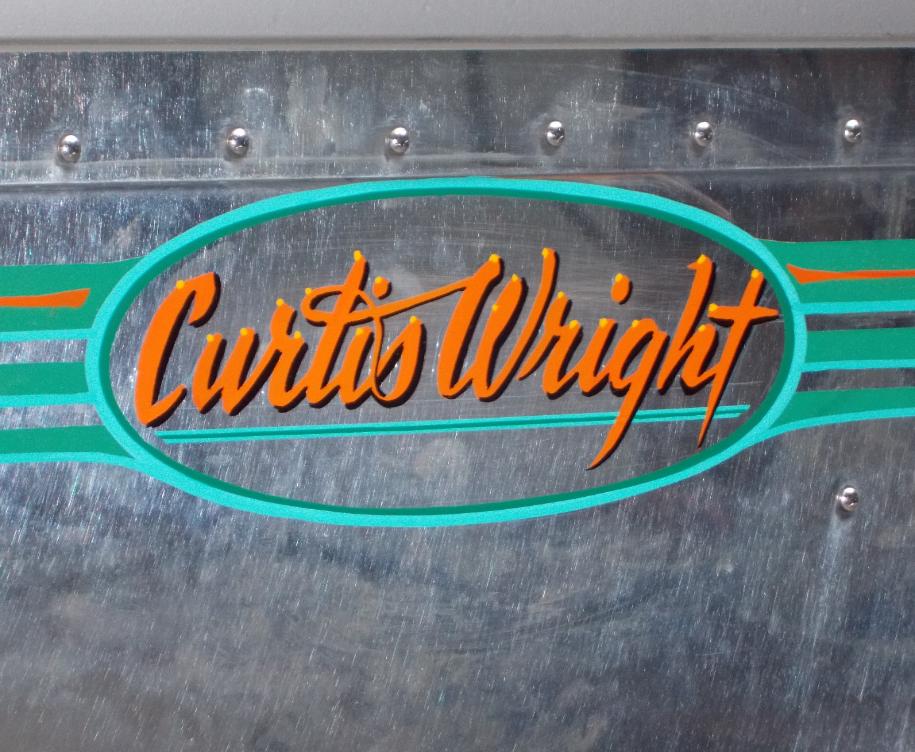
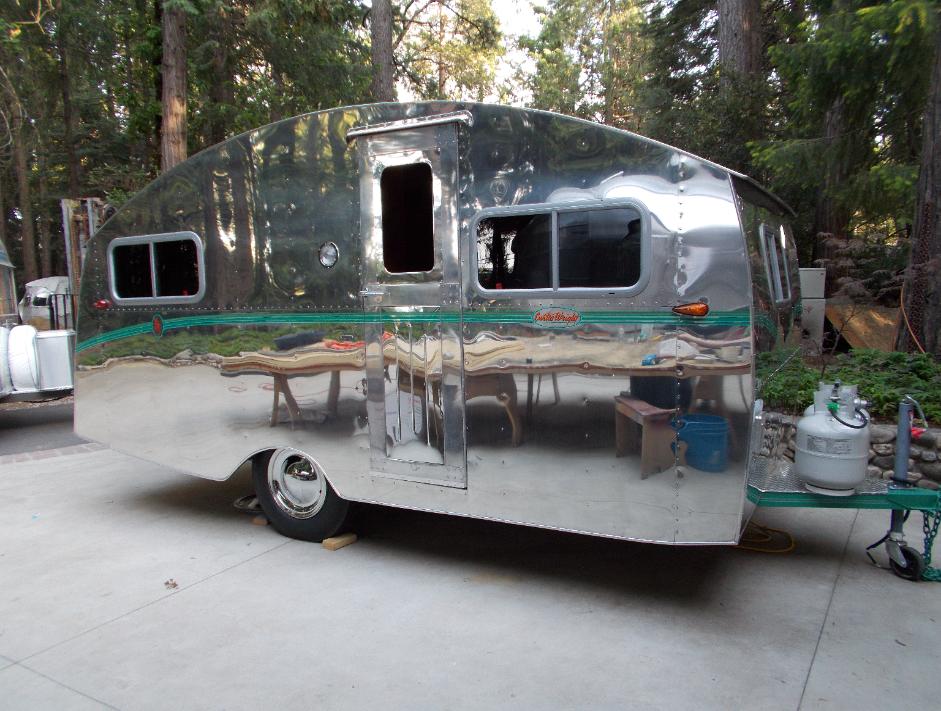
| O'Dell's 1946 Curtis Wright Model 2 Sportsman |
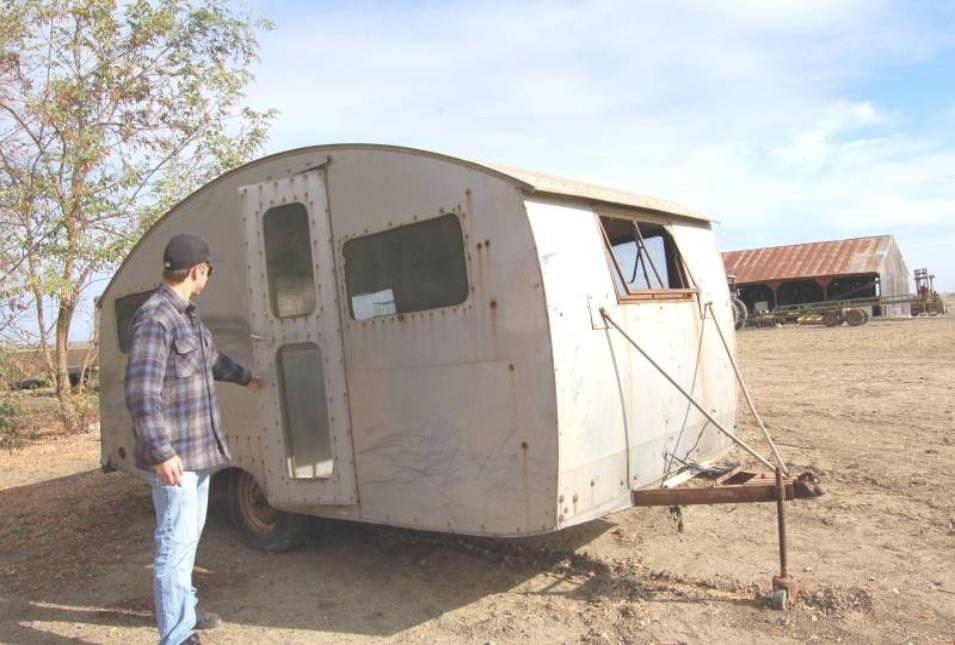
| Passenger Side |

| Rear View |
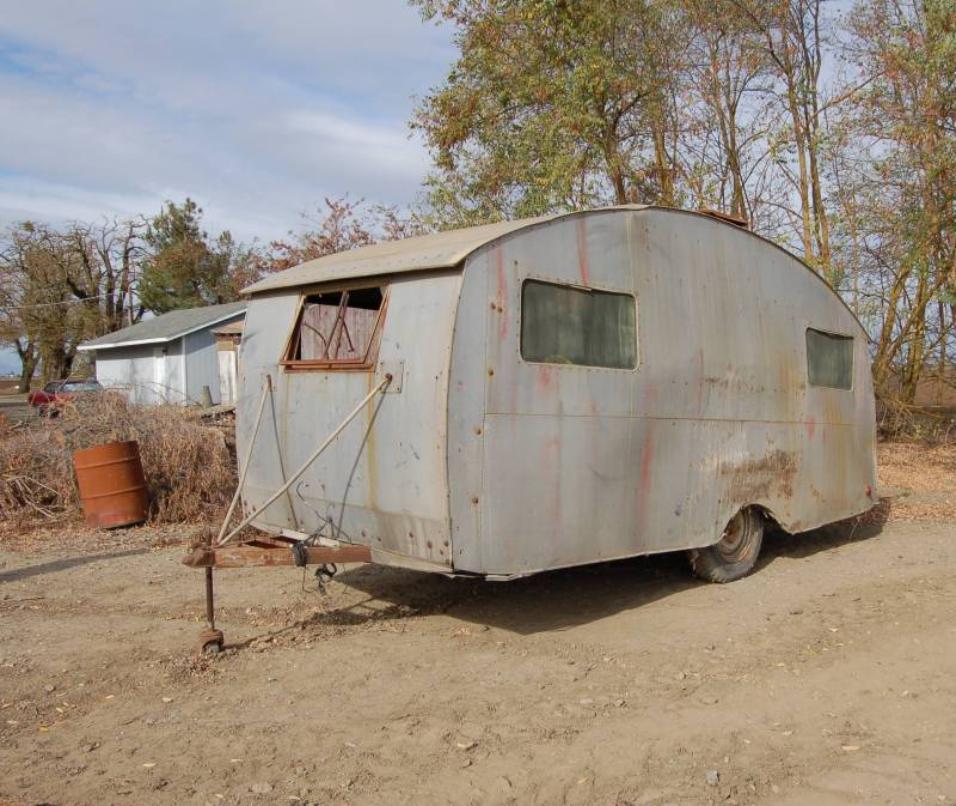
| Passenger Side |
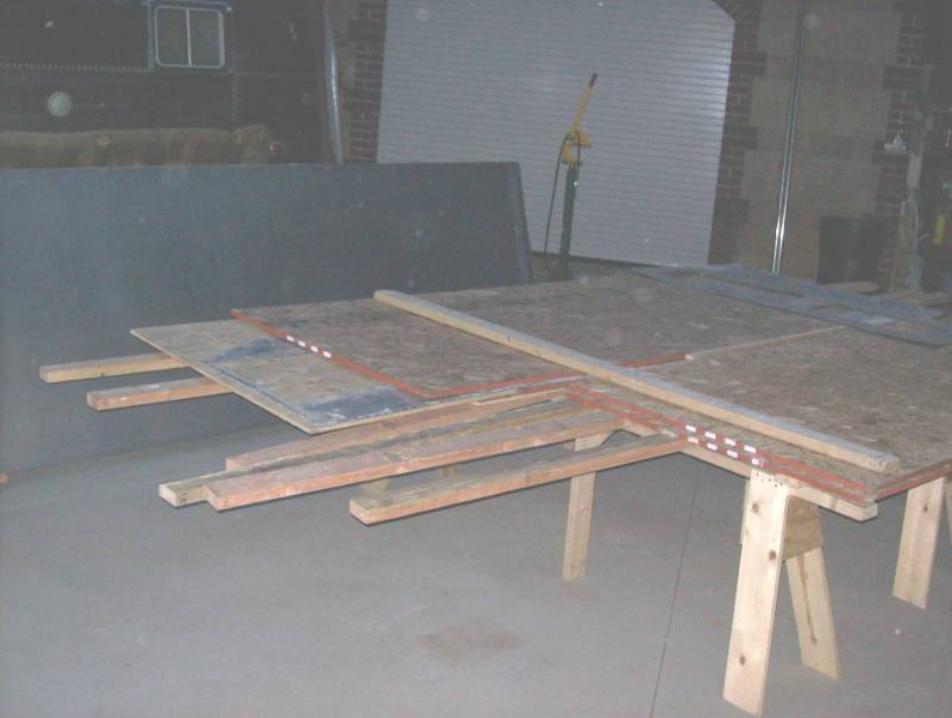
| Trailer Taken Apart & Delivered to Sierra Trailer Restoration |
| Parts .... |
| And ... More Parts |
| Got Book? |

| Built a Book from Photos from Jodie's Zip Drive ~ Thanks for those Pictures! |


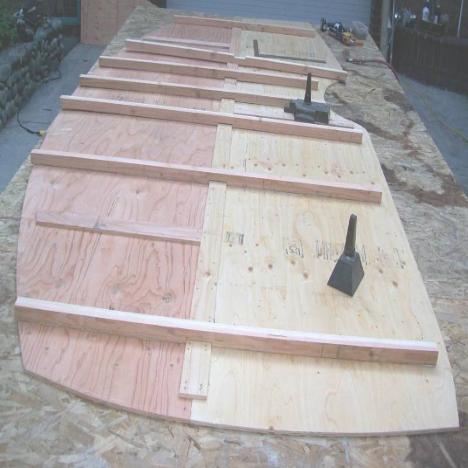
| Laid Out all the Pieces |

| Here she is with the Sub Floor On |

| Insulation Action |
| And ... The Belly Pan |
| Sides Painted with POR 15 ~ Next is Building the Side Walls |
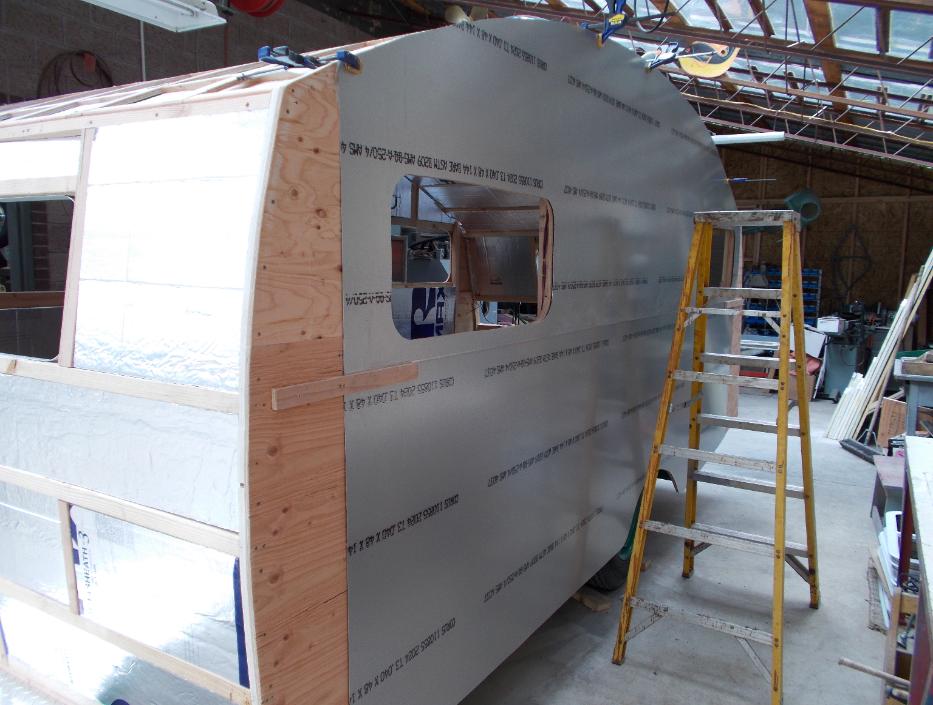
| The Top Piece of Aluminum is the Pattern. On Right shows New passenger side Wall. |
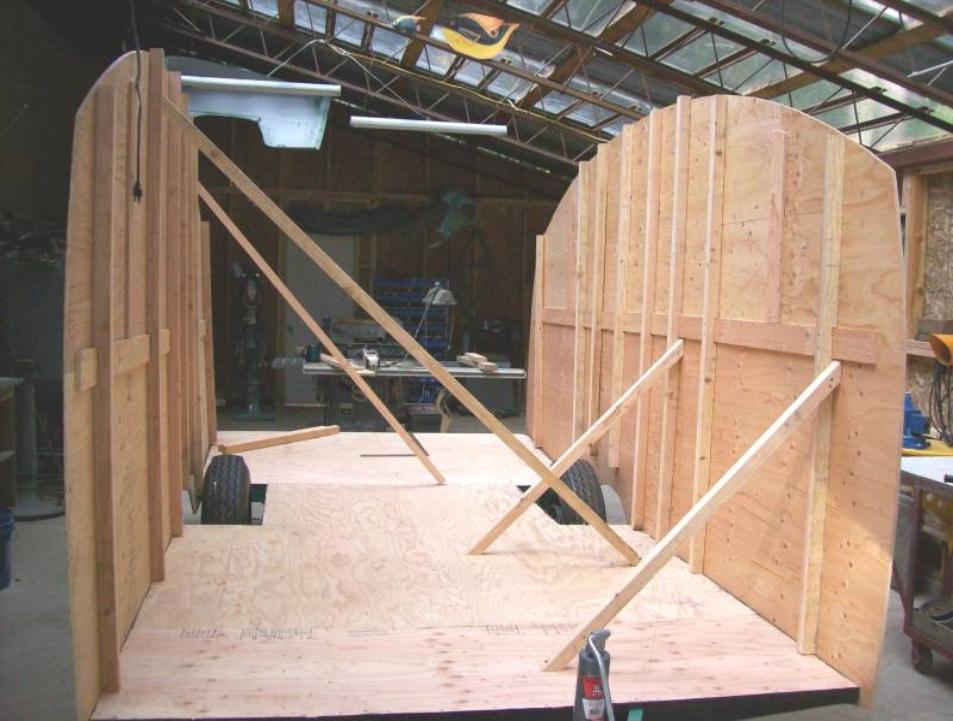
| And ... Here Comes the Frame Work! |

| Pretty |

| Wheel Well Work |

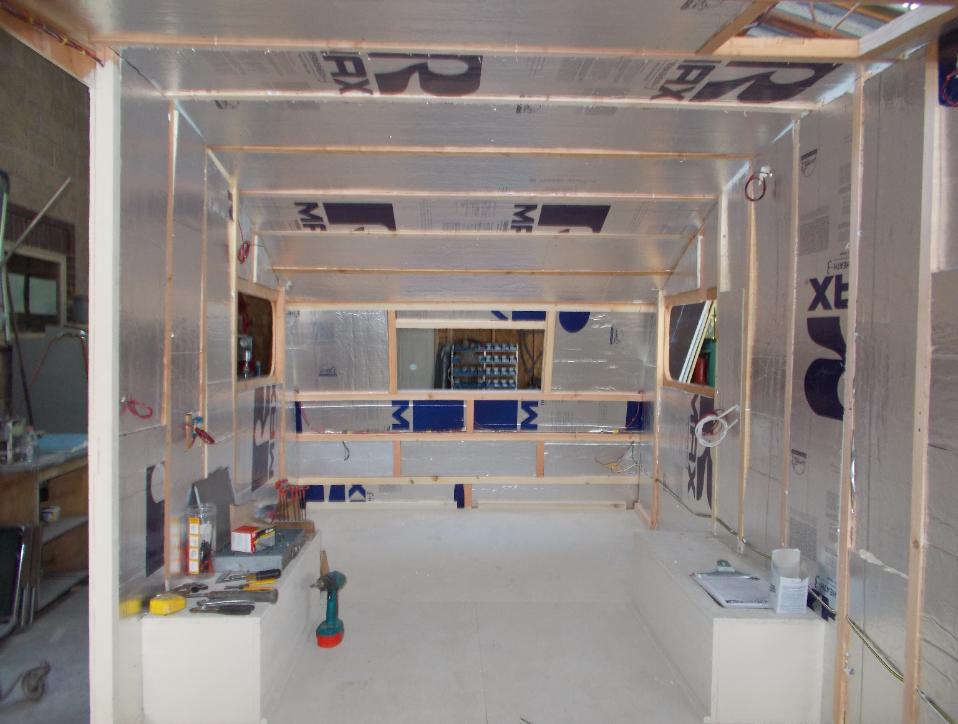
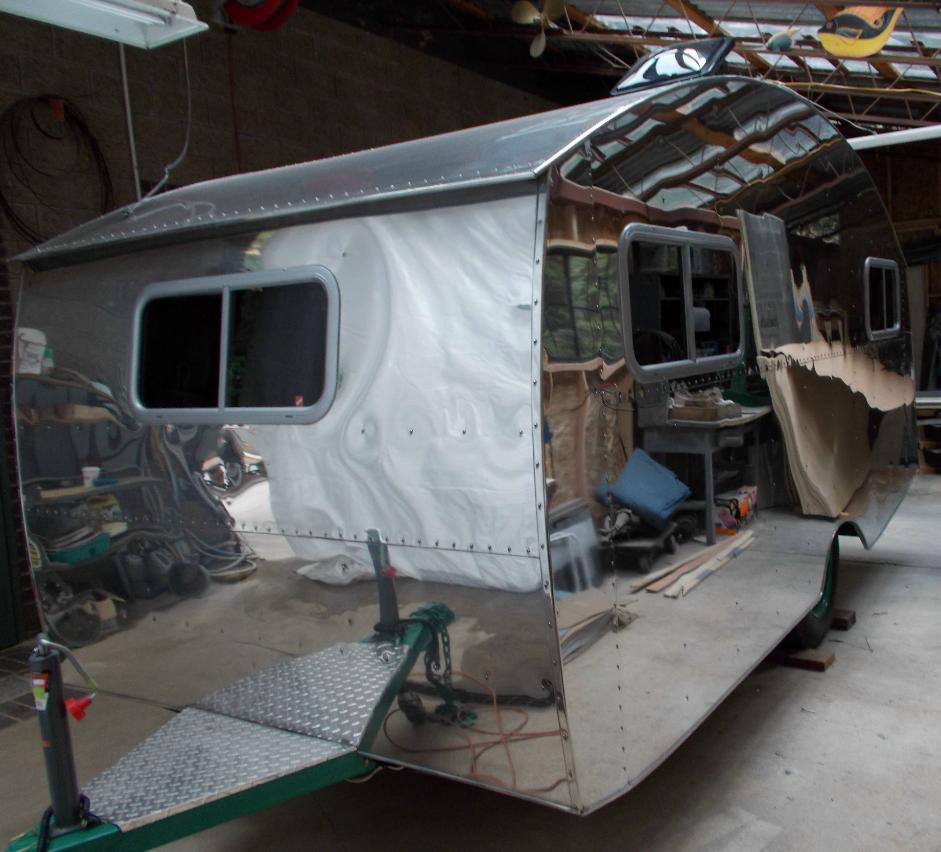
| Wheel Well Covers Complete / 2 Coats of Paint on Floor / Insulation Under Way / Window Openings Made |
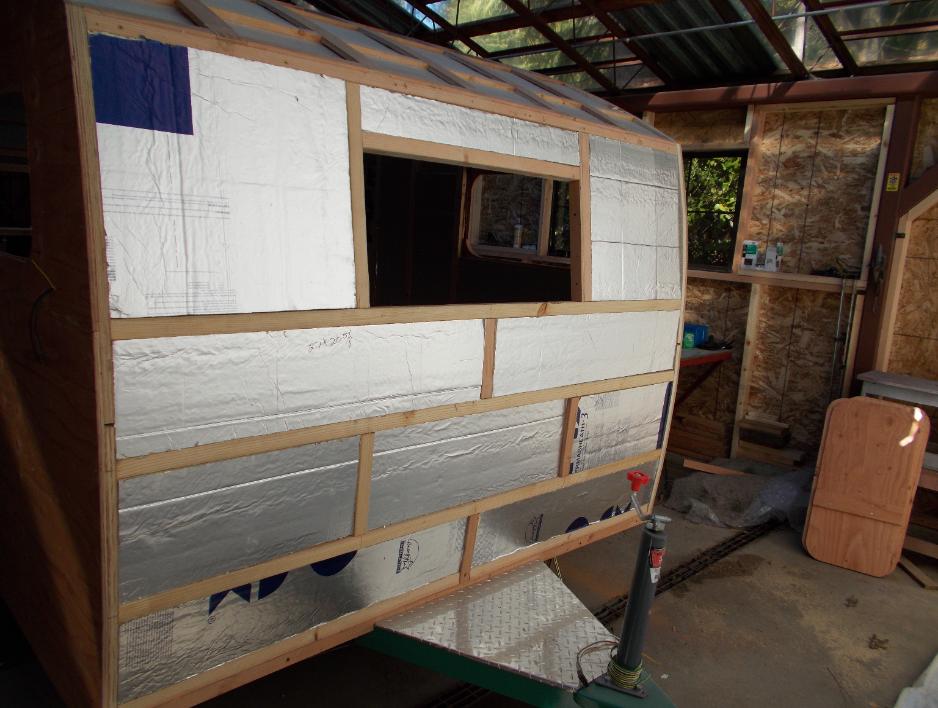
| Insulation and Window Openings Shown - Front View |
| Insulation and Window Openings Shown - Passenger Side View |

| Insulation and Window Openings Shown - Rear View |
| Window Opening Shown from Exterior |
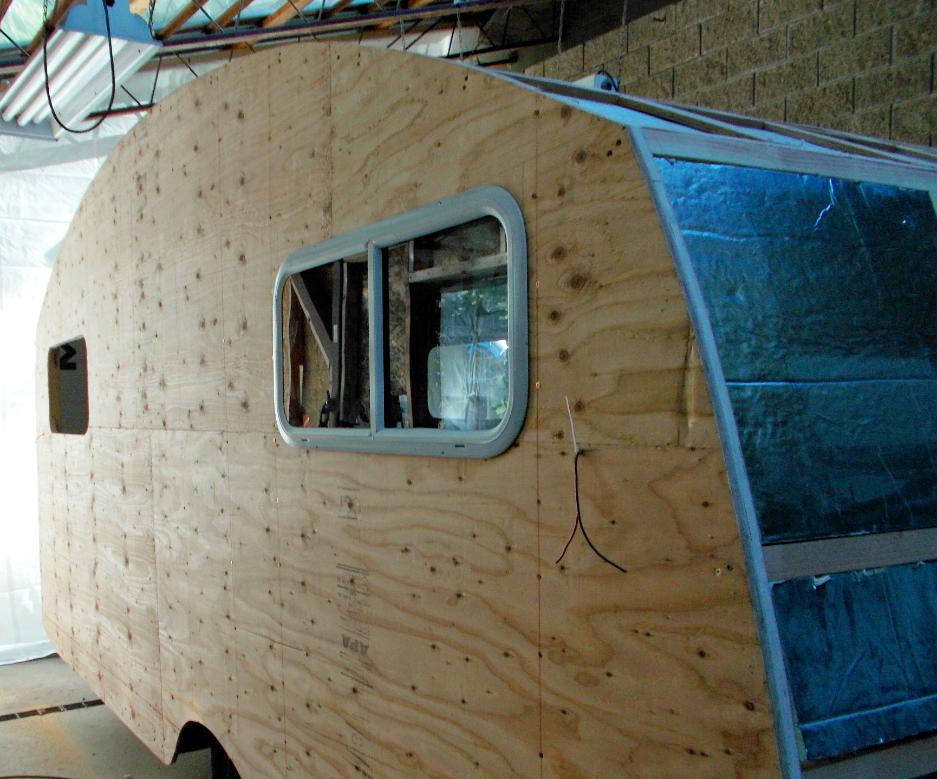
| Fitting The Windows |
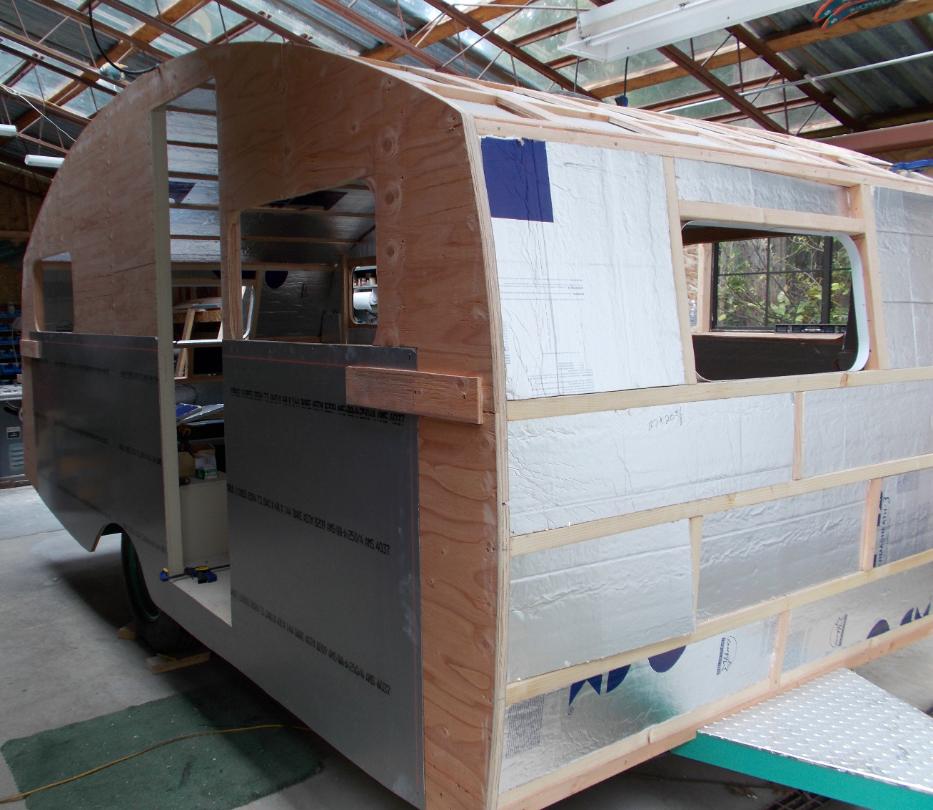
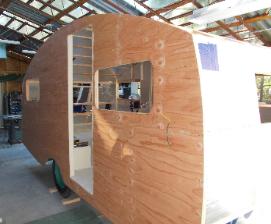
| And ... Here Comes the Siding! |
| A Little bit more .... |
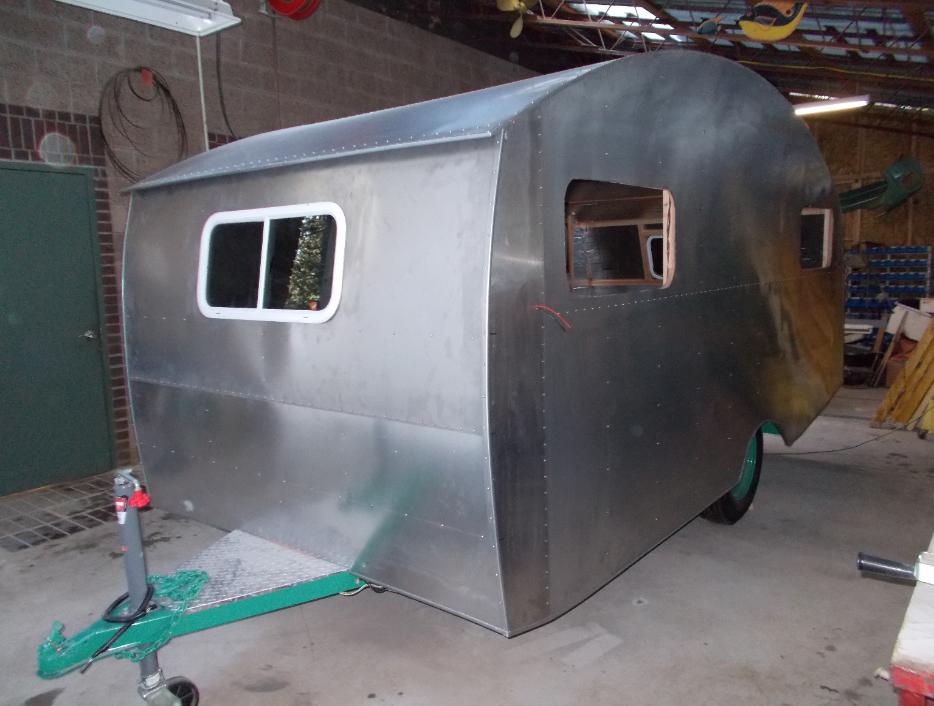
| Sure is a Cutie! |
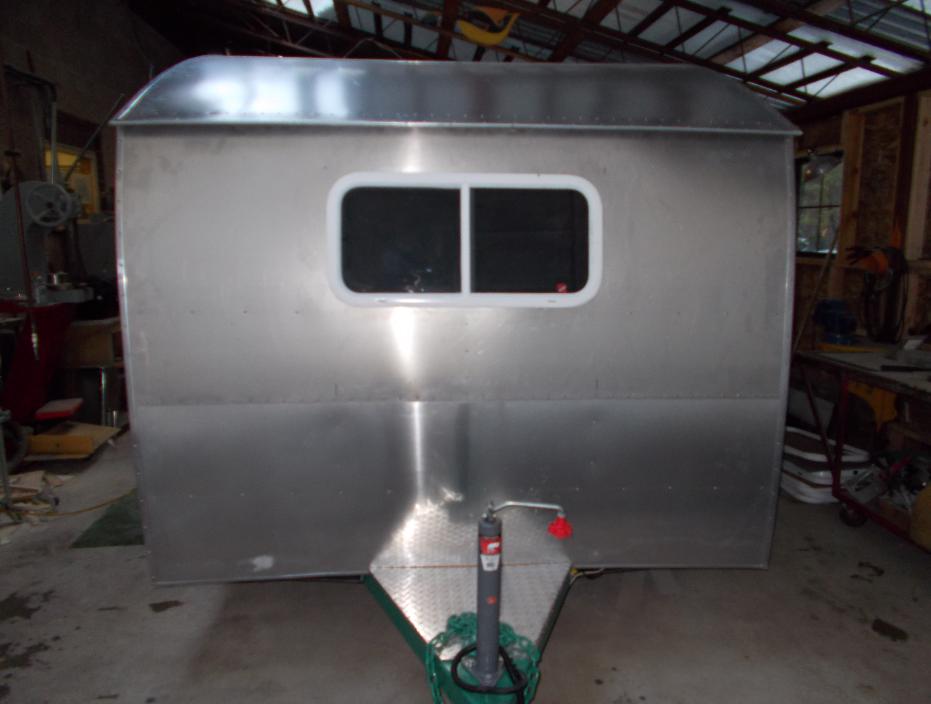
| Front View |

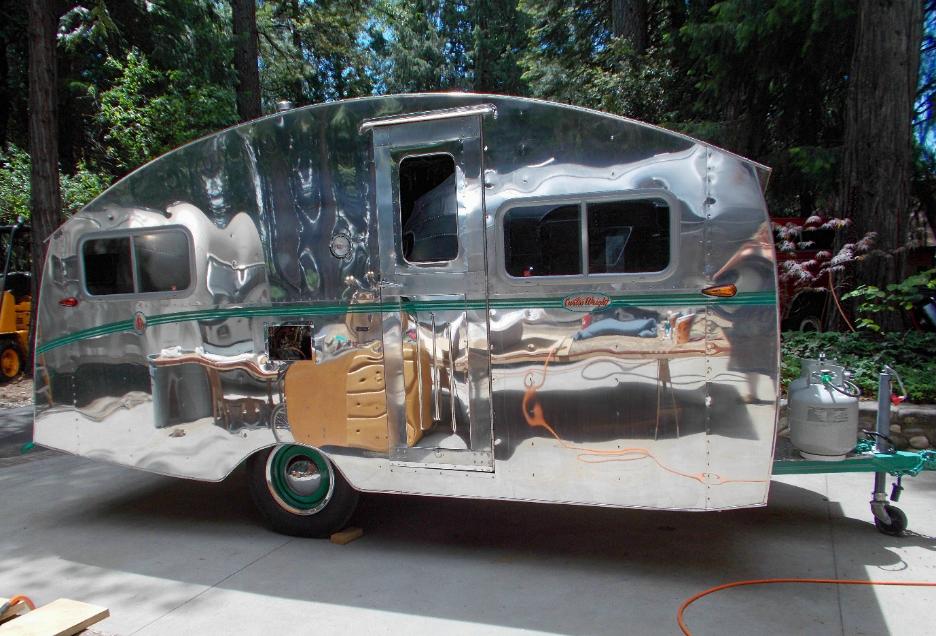
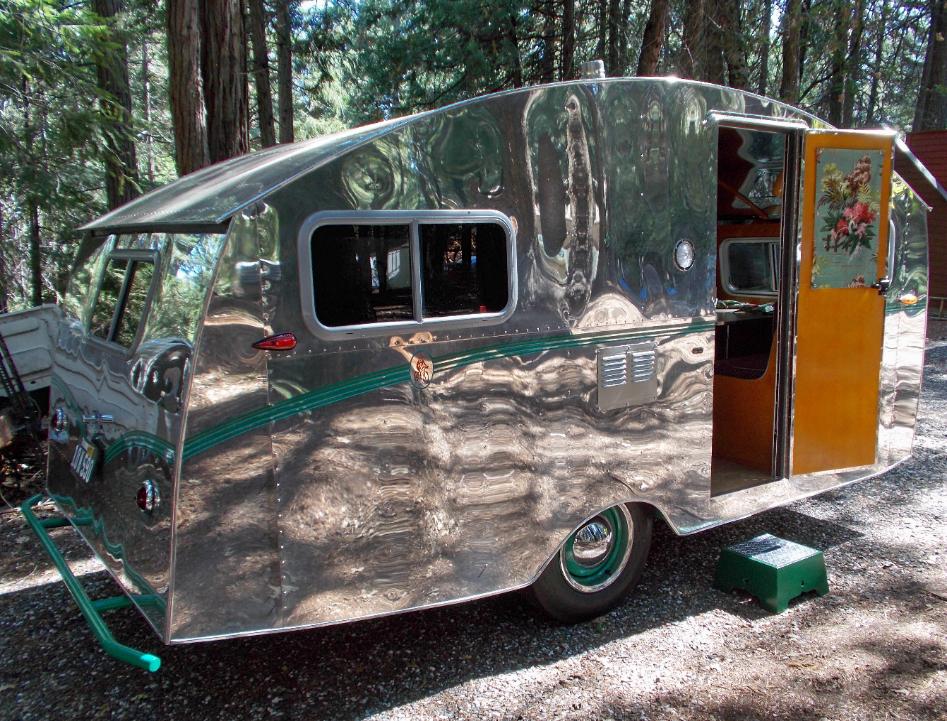
| Passenger Side |

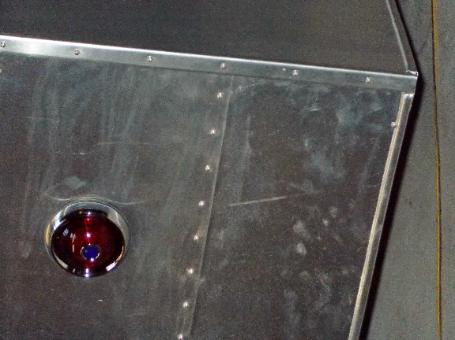
| A Whole Lot of Detail & Screws! |

| She is now wearing her Badge & VIN # Verified. All dressed up & ready to go to the Polishers on Friday! |

| Look what's rolled in from the Polisher! |
| Windows sure look better Silver - We're talking "BIG TIME Masking Job"! |

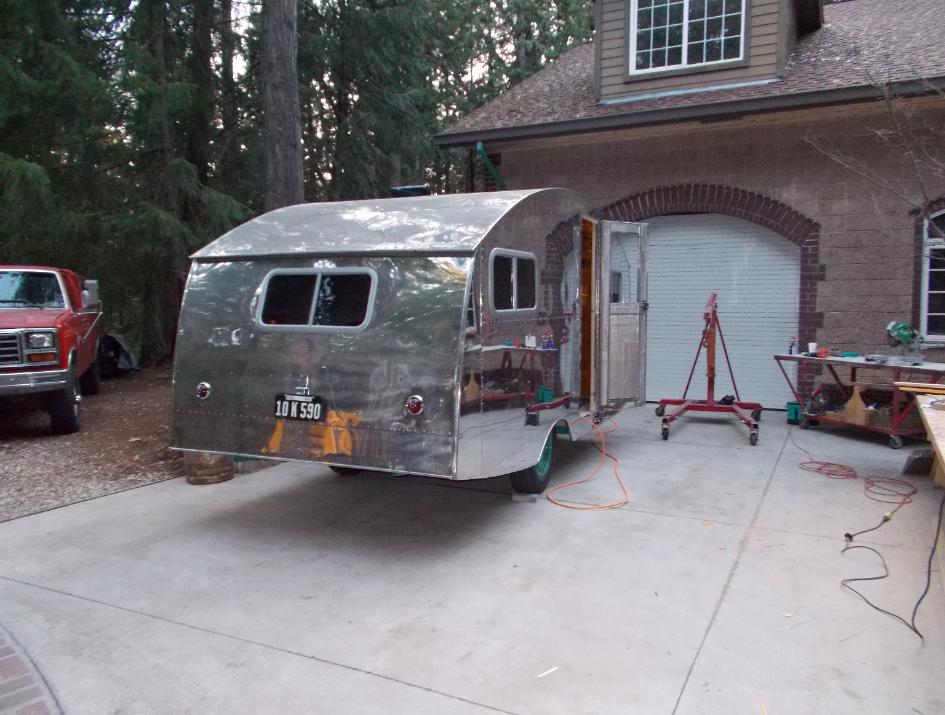
| Polished Rear View Sporting Her Vintage License Plate. |


| Exterior & Interior Entry Door Re-Building "In the Works" |
| Well Folks .... This is a picture of the Ceiling. The only clue that it is the Ceiling is the fact there is a Ceiling Fan Installed. The Ceiling is Polished Aluminum! Pictures from this point on are going to be a "little tricky". |
| Moved Little Curtis Wright Outdoors ~ It's time for Paneling the Interior. |
| Passenger Side View |


| Paneling Delivered |
| Paneling All Stained - Installation Begins - Front View Shown |

| Rear View Shown |

| Here Comes the Bed Frame Some Modifications are Necessary but this is a Good Starting Point Will Require a Custom Mattress |

| Ceiling Chrome & Wood Trim |

| And ... She has a Pretty New Floor! |

| Futon gets moved in. |

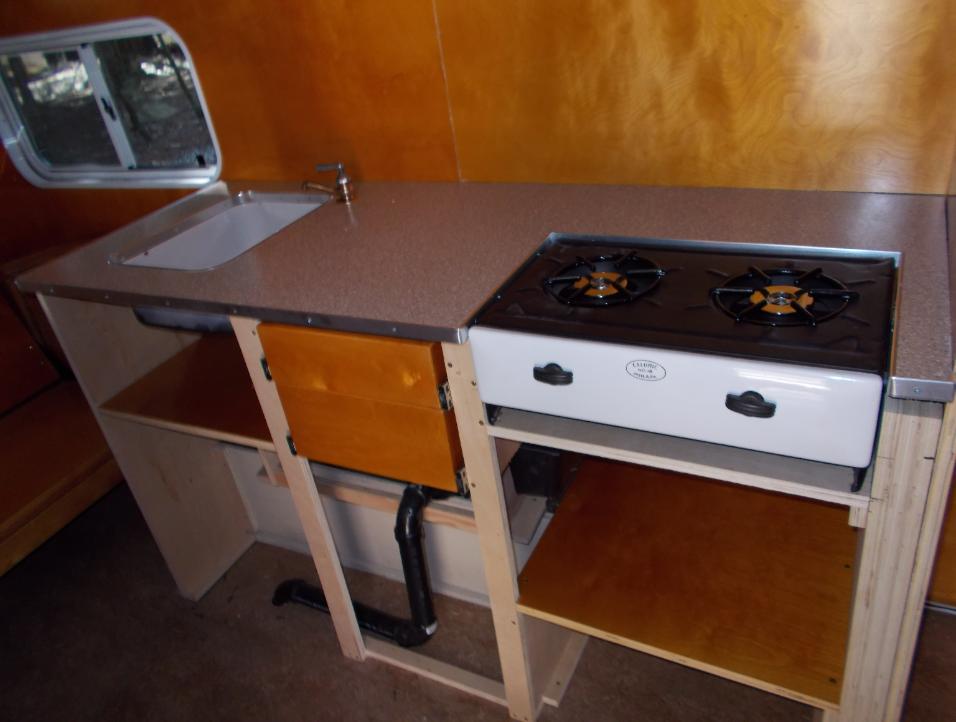
| Kitchen Area Started |
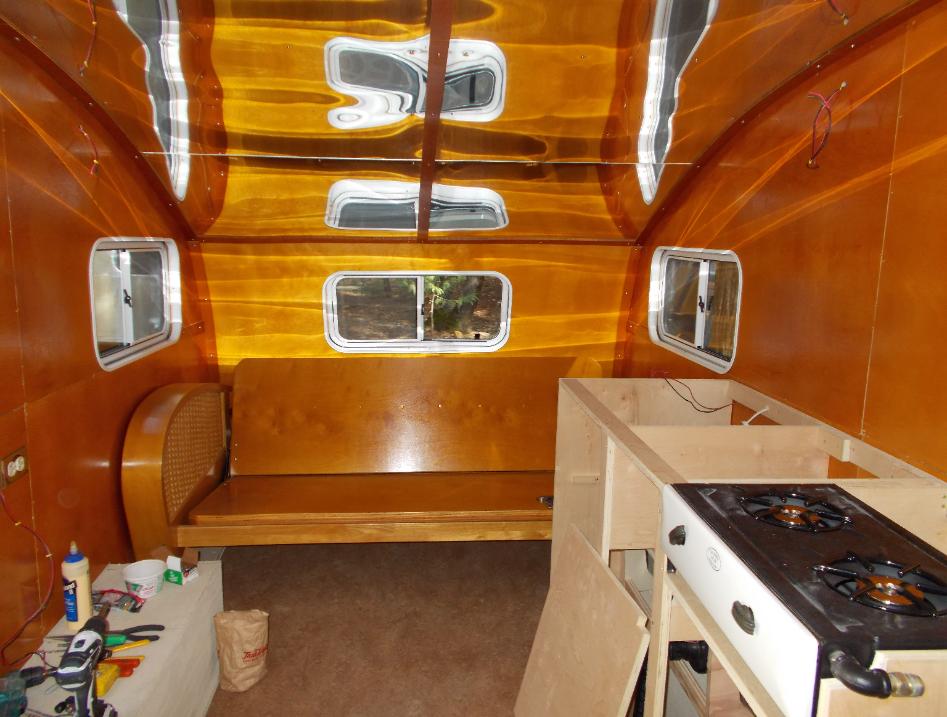
| Rear View |
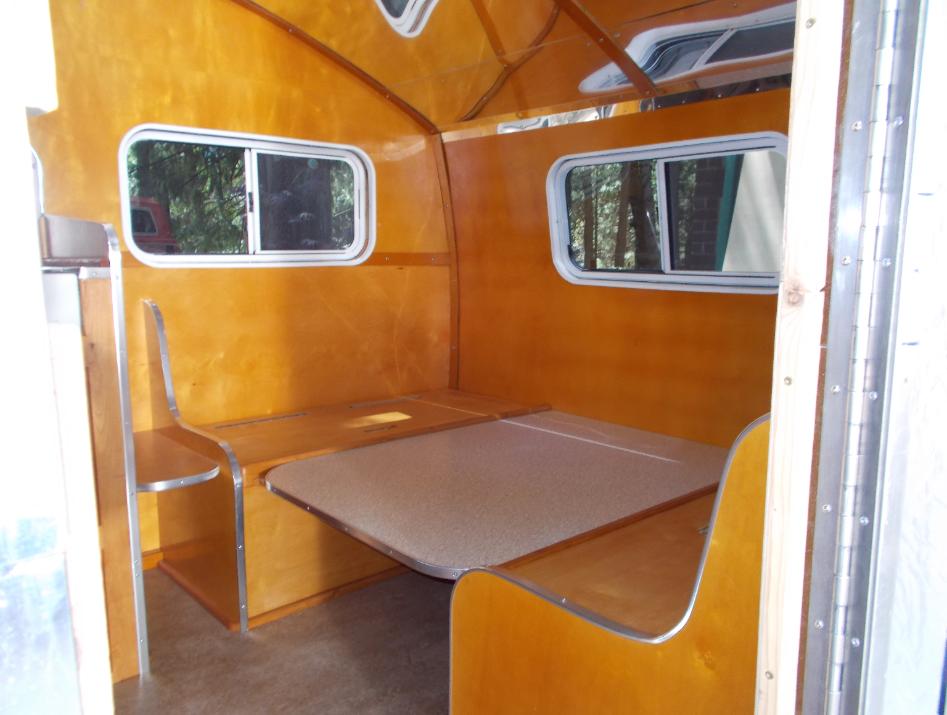
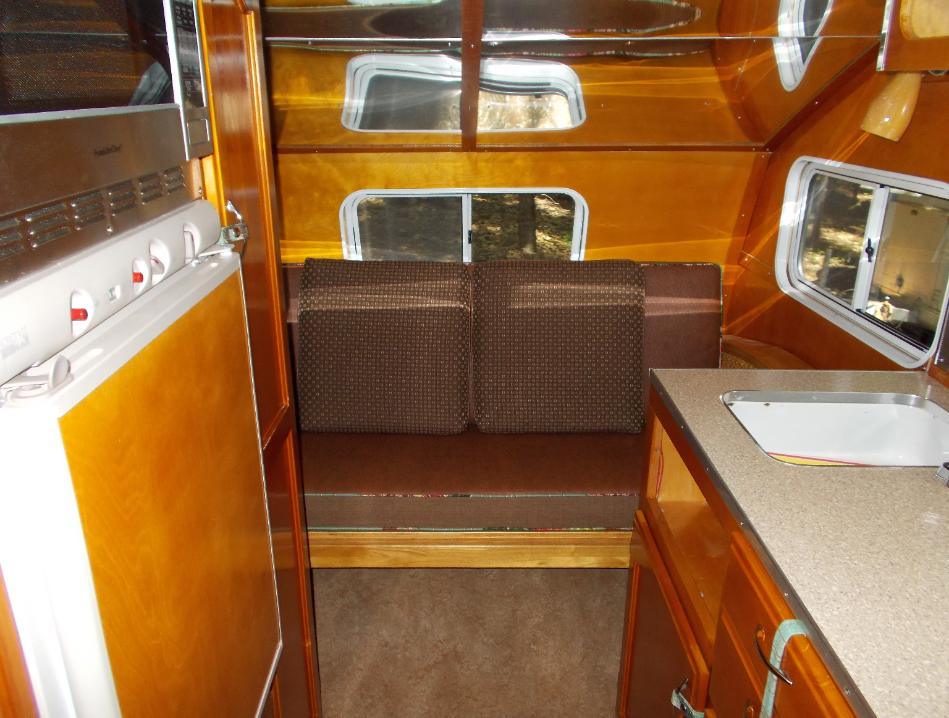
| Front View ~ Cozy Little Dining Nook |

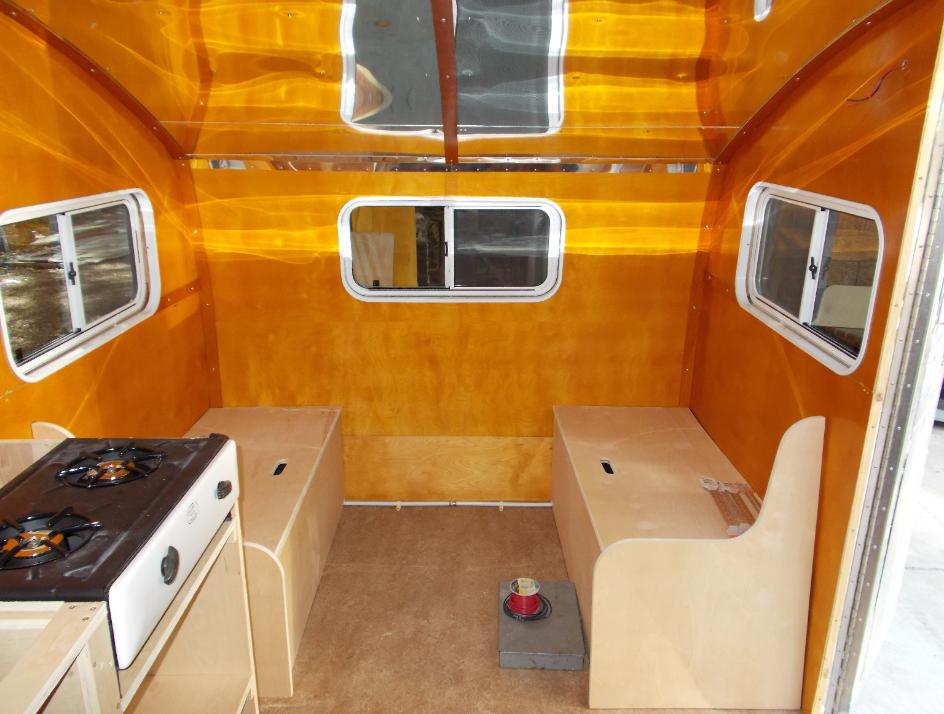
| Yes ~ What a Difference Stain Makes! |

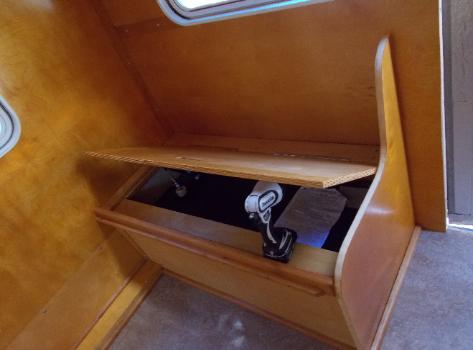
| Benches ~ Stylish & Functional |
|


| Front View ~ That's the Closet Area going in on the Right |
| Front View ~ Dining Table in Reclined Position Aluminum Detaiil Work |
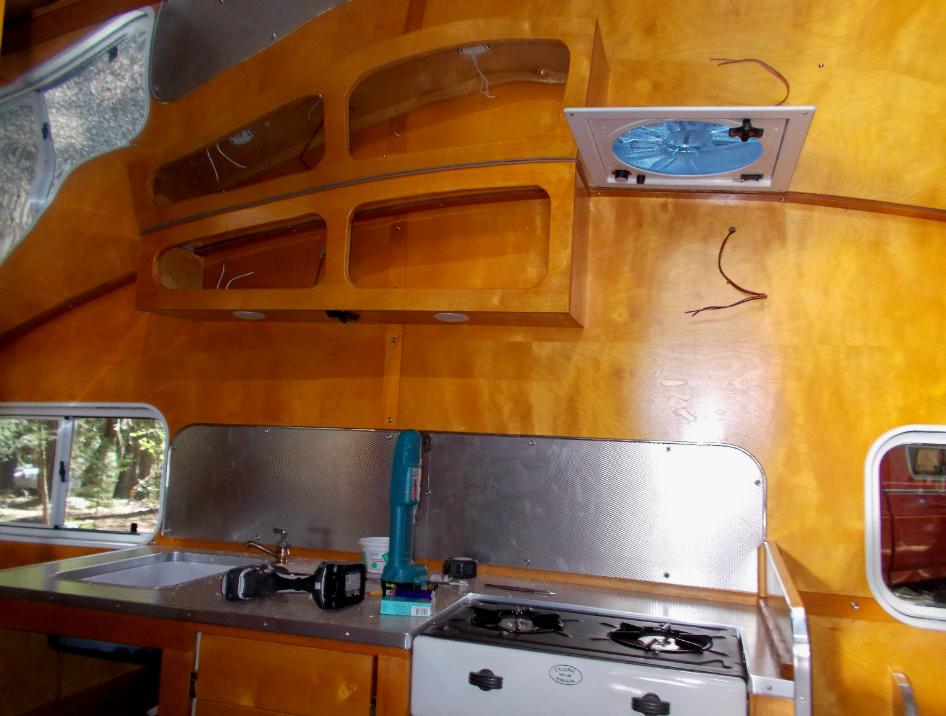
| Overhead Kitchen Cabinet & Stove Back Splash |

| Kitchen Wall Cabinet Detail |

| Kitchen Wall Cabinet Lights |

| Wall Heater Plumed in Awaiting Fancy Porcelan Cover Plate |
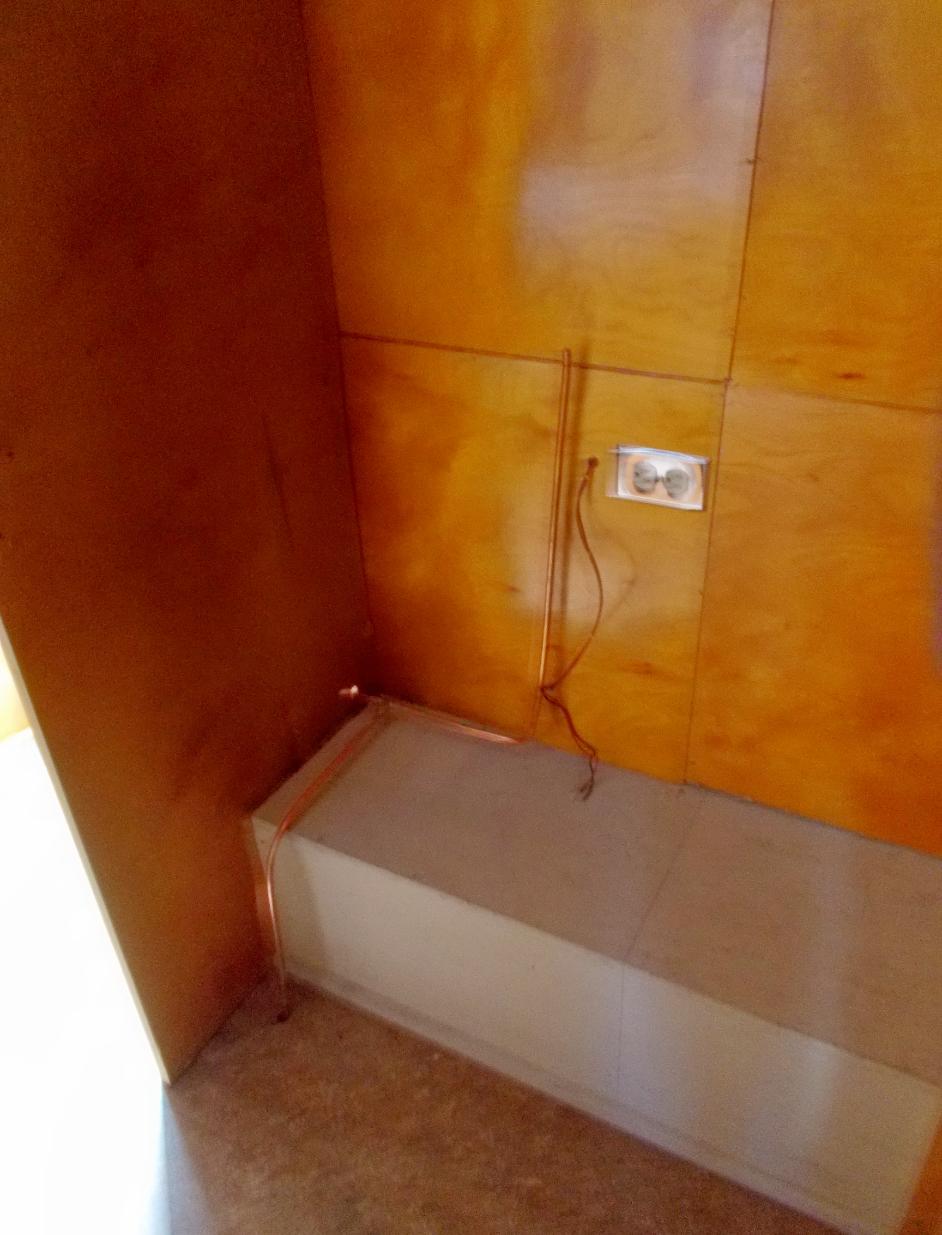
| Wall Heater Plumed in Awaiting Fancy Porcelan Cover Plate |
| Fridge Plumbing Complete Awaiting Fridge |
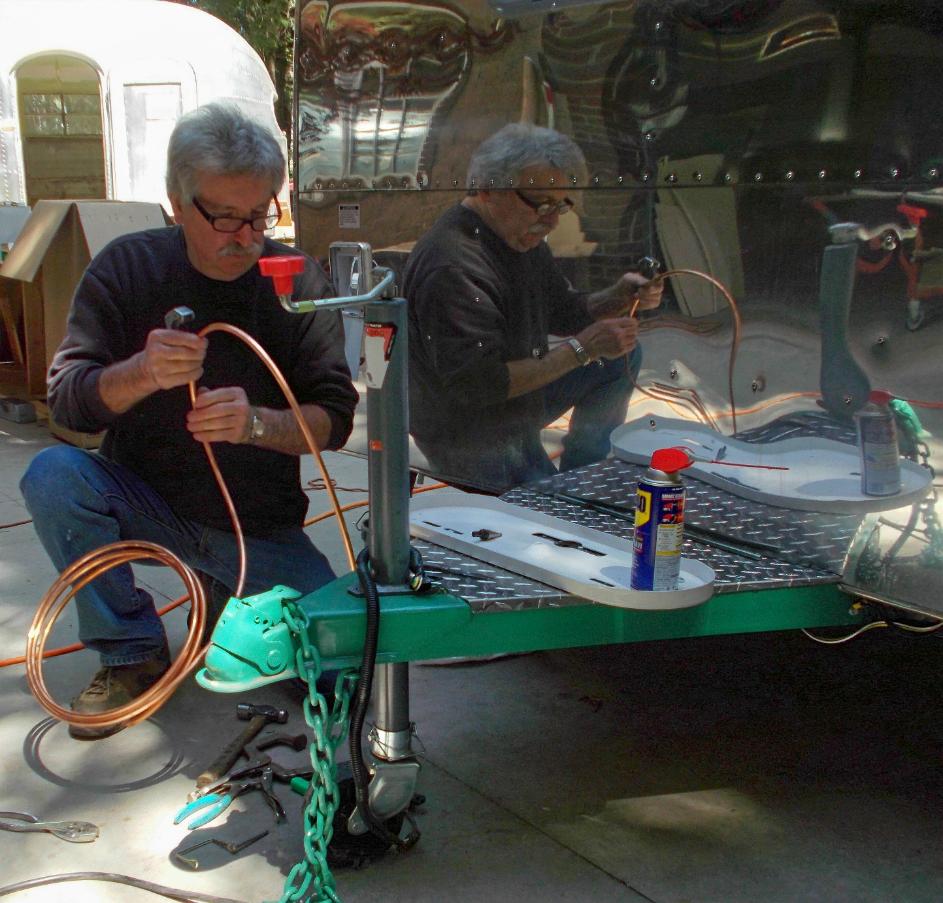
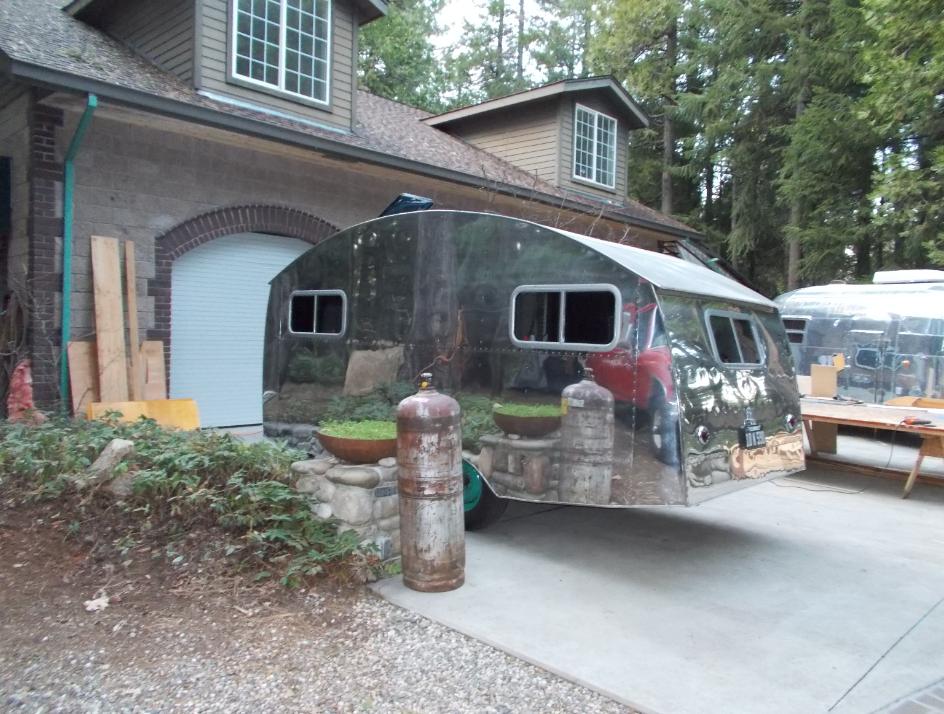
| That's Pete ~ Hooking Up the Propane Bottles & Giving the Hitch some Detail |


| Compare this Photo to the one above ~ What a Difference the Moon Caps make! (Your eye jumps right to the the pin striping &drawings.) |

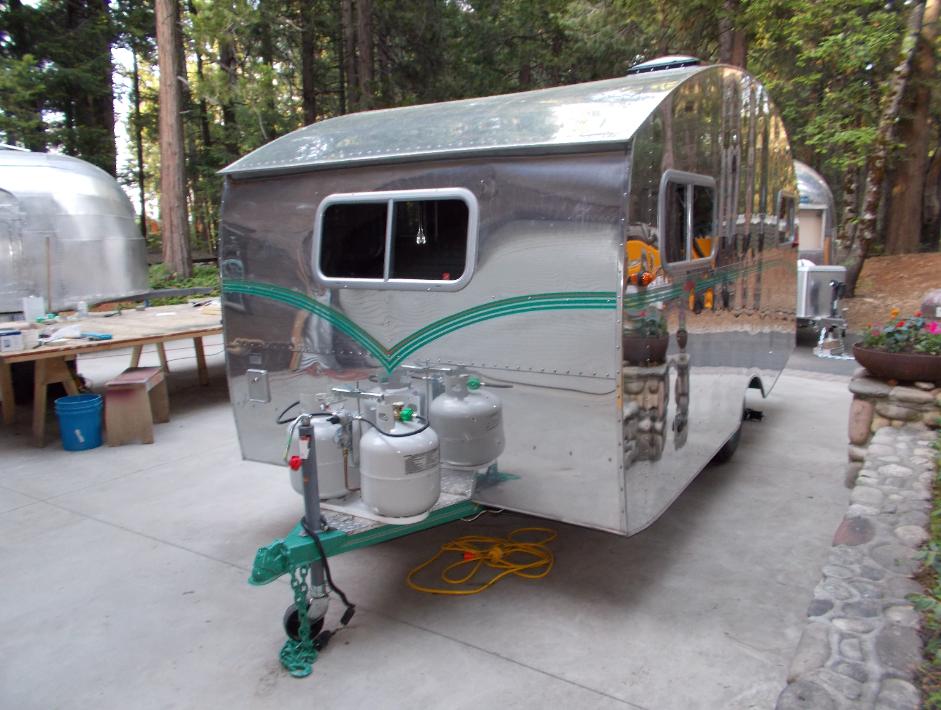
| The Front ~ Now Complete |
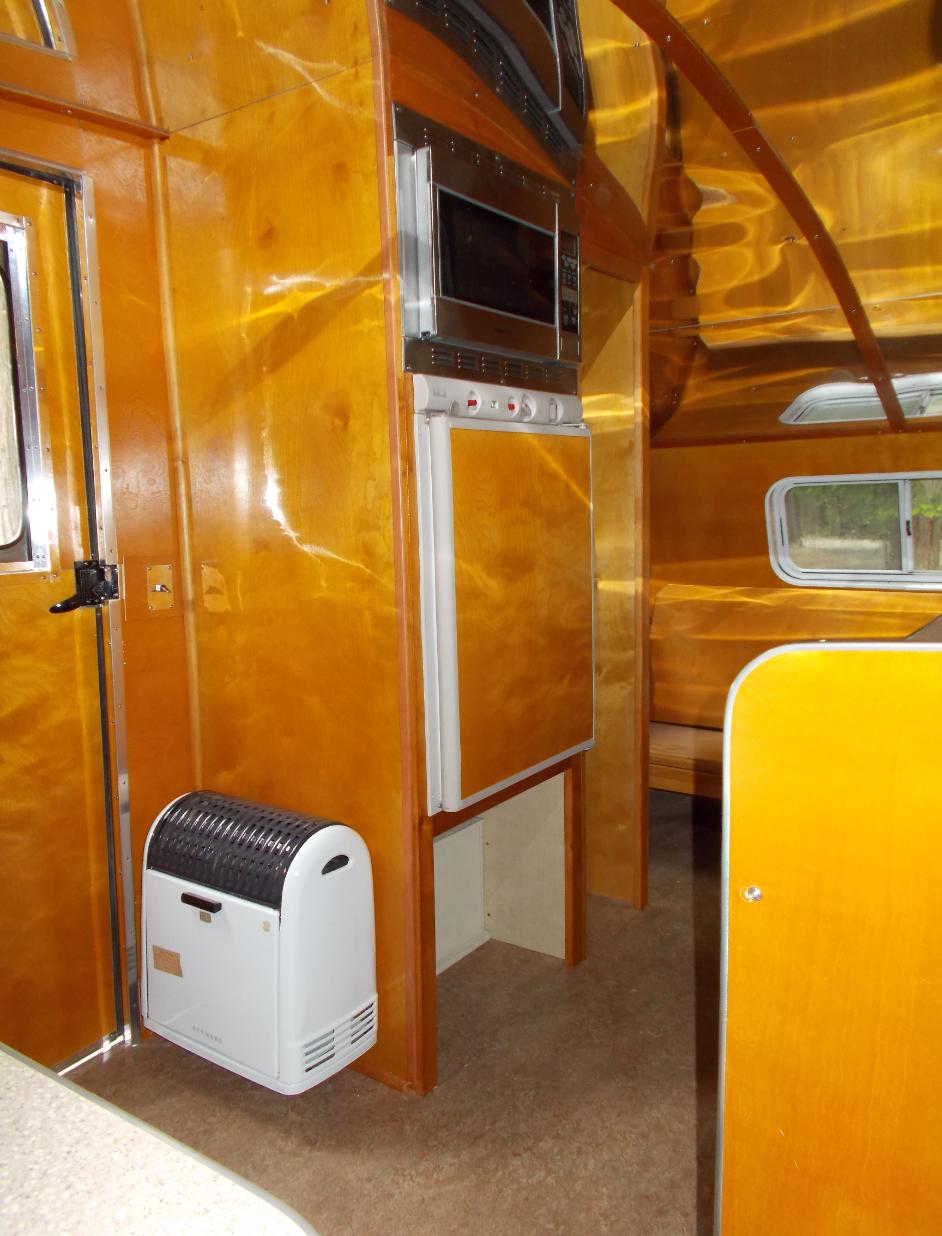
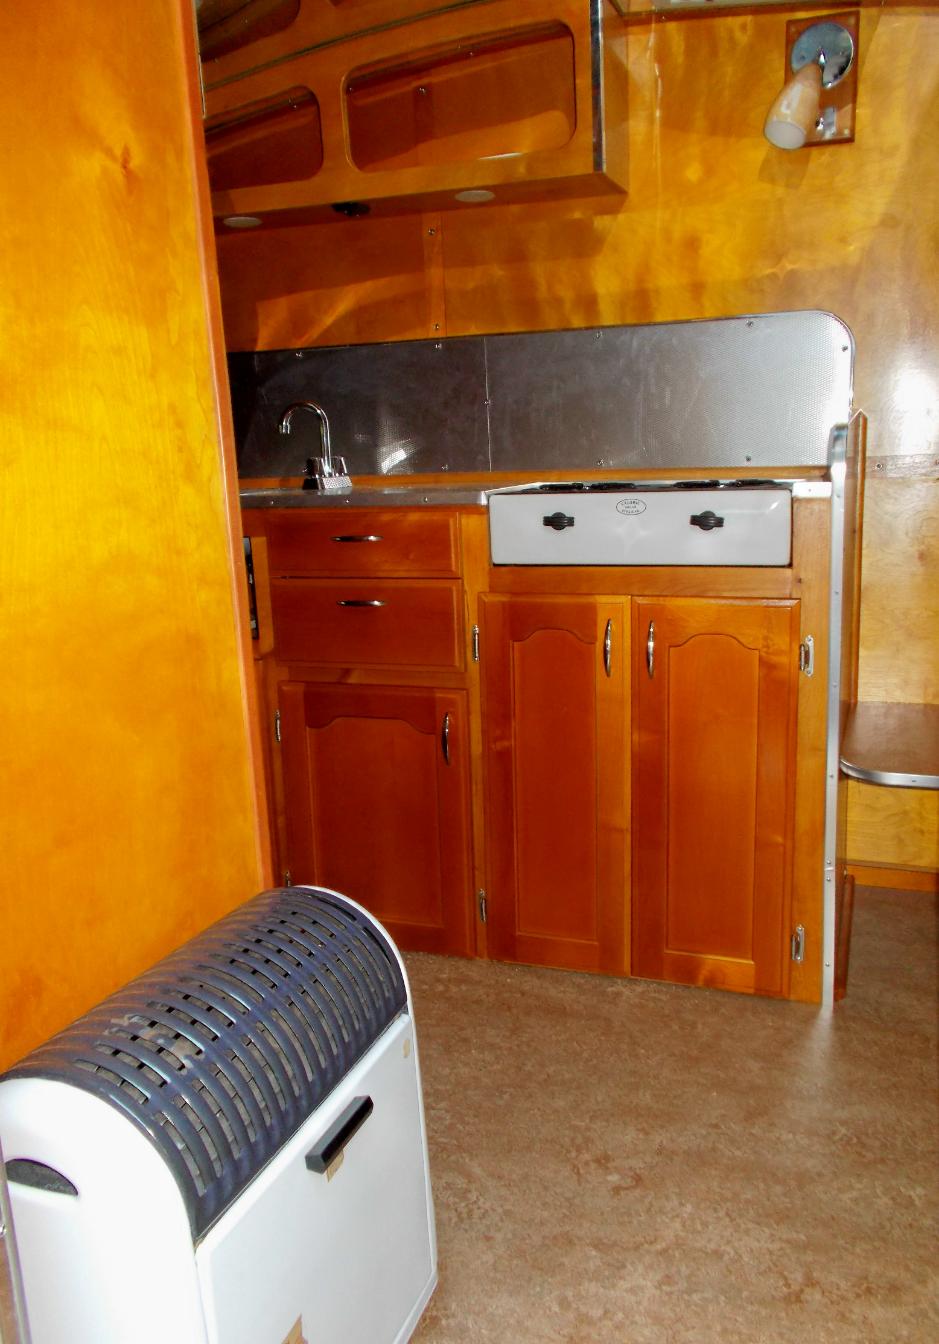
| Fridge, Confection Oven & Vintage Heater Cover Installed |

| Powder Coated Bumper |

| Close-Up Pic |
| Design Change on the Hub Caps |

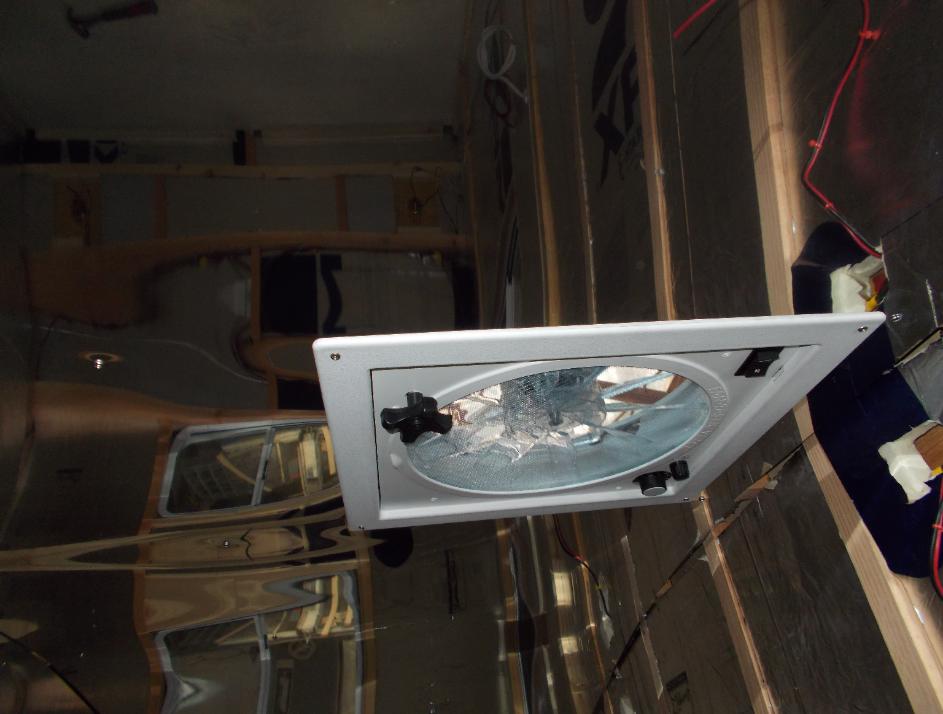
| One Light Up and . . . . . . |
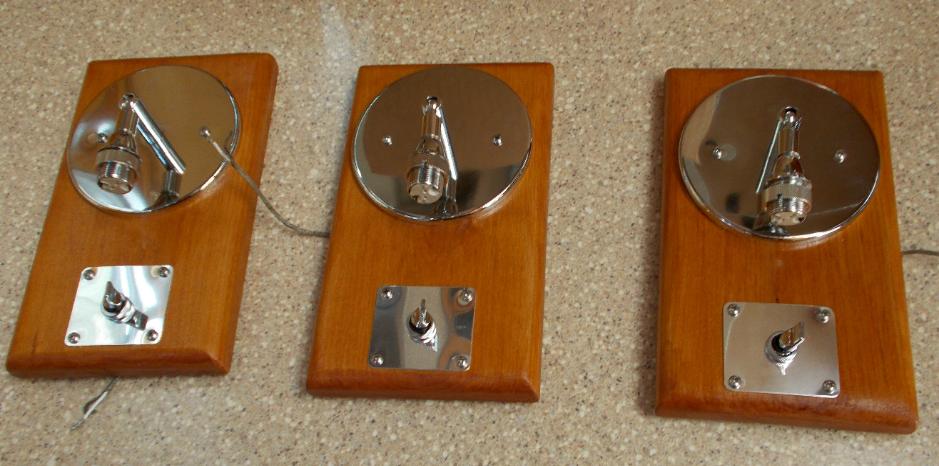
| Three to Go |
| Hello Cabinet Doors! |

| One More Door Coming Soon |
| Just Rolled in from the Upholstery Shop ~ Check Out the Removable Door Curtain (It Snaps On) |

| Dining Area which makes into a Bed |
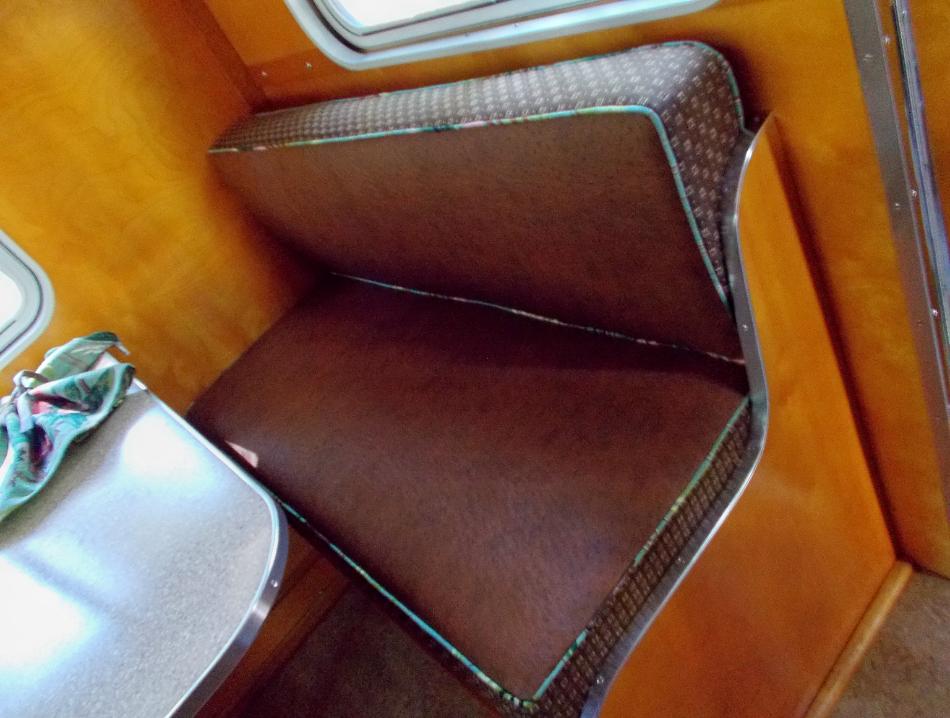
| Close Up on the Snazzy Cushions |
| Sleeping / Couch Area with a Couple of Big Pillows |

| Protection for the Lights when going down the road. |

| Doors Won't be coming Open when going down the road. |
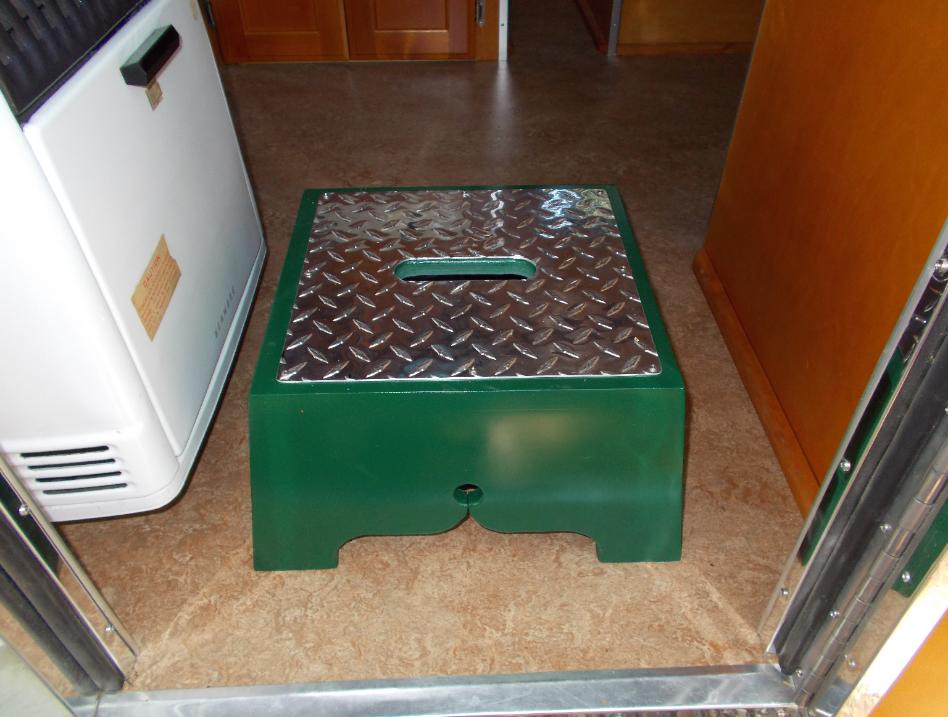
| Jody's cute little step |

| The Final Touch ~ Curtain Hanging Coming Soon! |